The increasing demand for a seamless omnichannel experience has made managing interactions with your customers on social media like Facebook tougher than ever. But the cool thing about using Zendesk Support is that Zendesk have a free Facebook Channel integration you can use.
When it’s set up, the Facebook Channel automatically converts wall posts and private messages to tickets and enables your agents to deal with and respond to these inquiries directly through Zendesk Support. This way your support agents can easily manage inquiries from customers made on Facebook without ever having to leave Zendesk – awesome right?
Let’s get you set up and ready to rock your social media support.
First things first
To set up the Facebook Channel, you need to have admin access to your company’s Facebook page. Why? Because you have to log in to Facebook using your own Facebook account.
If your company has more than one Facebook page – and you have access to them – you can easily connect them all to Zendesk Support. More about that in step 4 below.
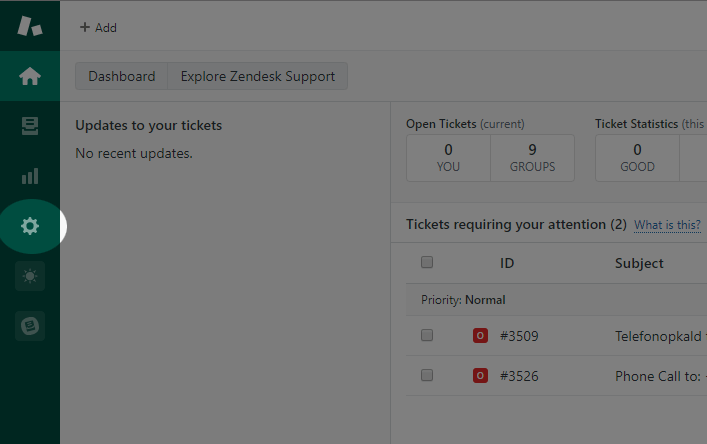
Step 1 – Go to the admin view in Zendesk Support
First, you need to go to the admin view in Zendesk Support. Do this by clicking on the cogwheel icon in the menu on the far left in Zendesk Support.
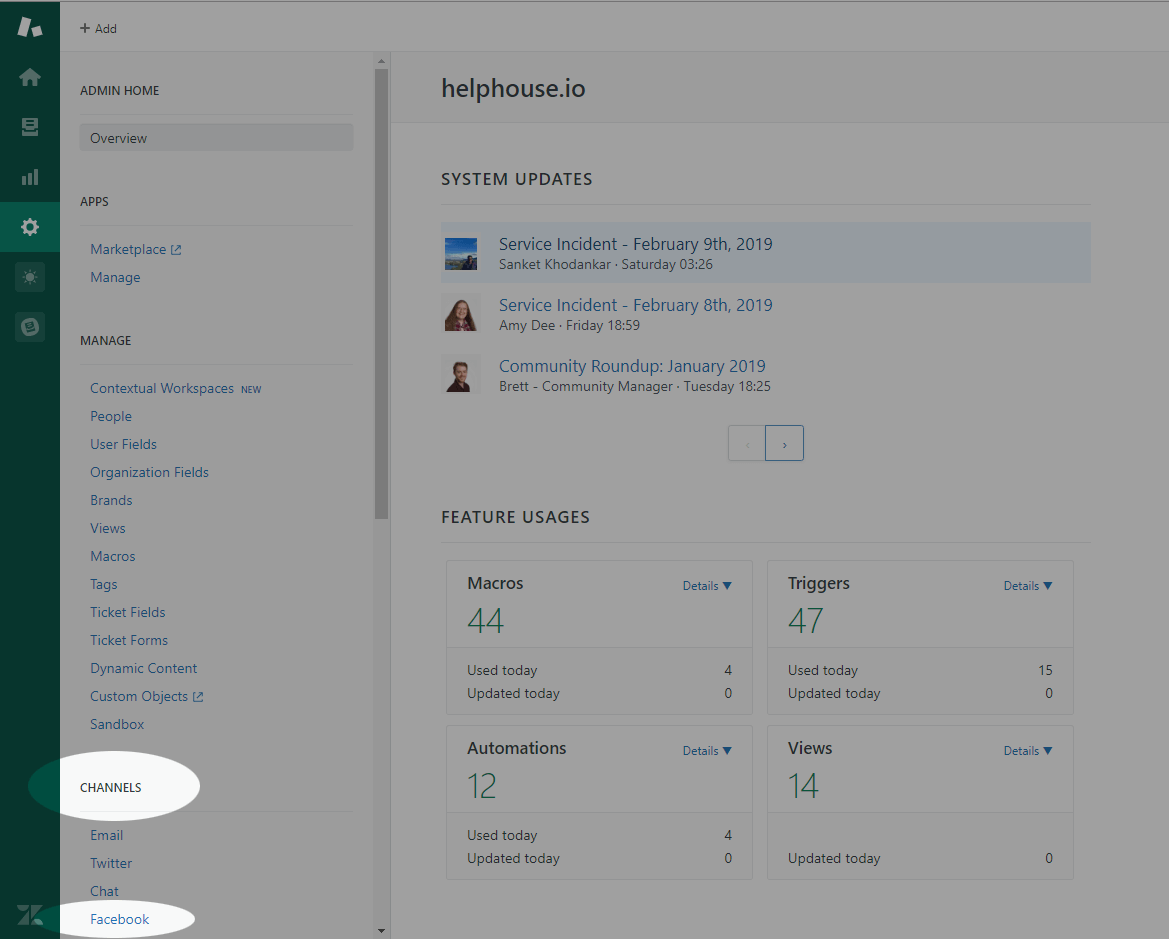
Step 2 – Find the Facebook Channel
When you are on the admin page, find “Channels” in the menu to the left and click on “Facebook” below it.
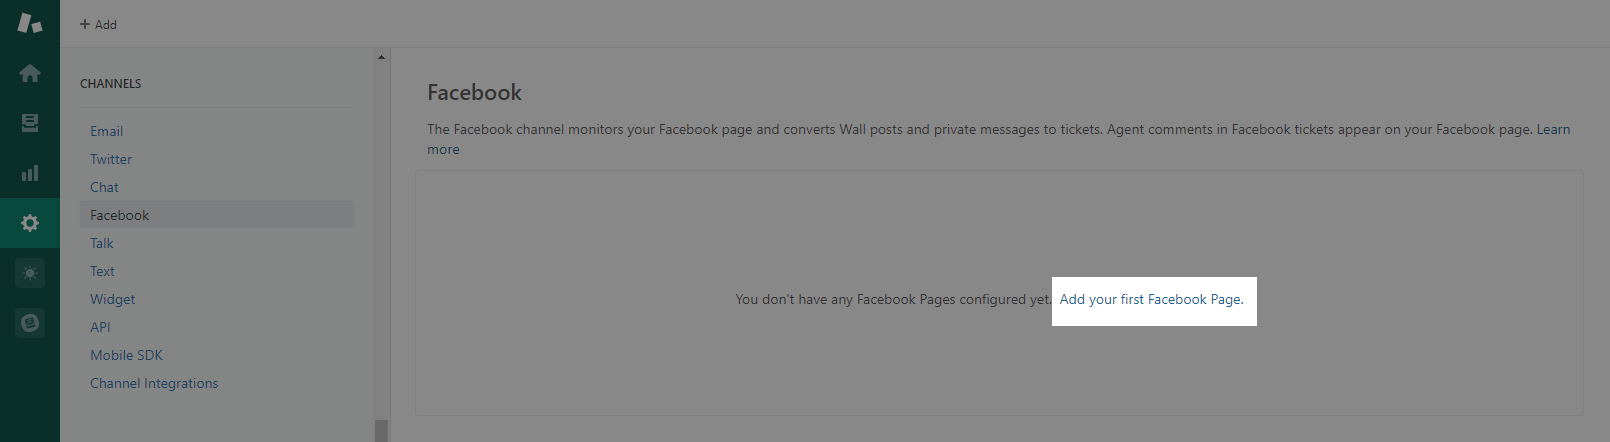
Step 3 – Add your Facebook page
Now the Facebook Channel view appears. Click on “Add your first Facebook page”.
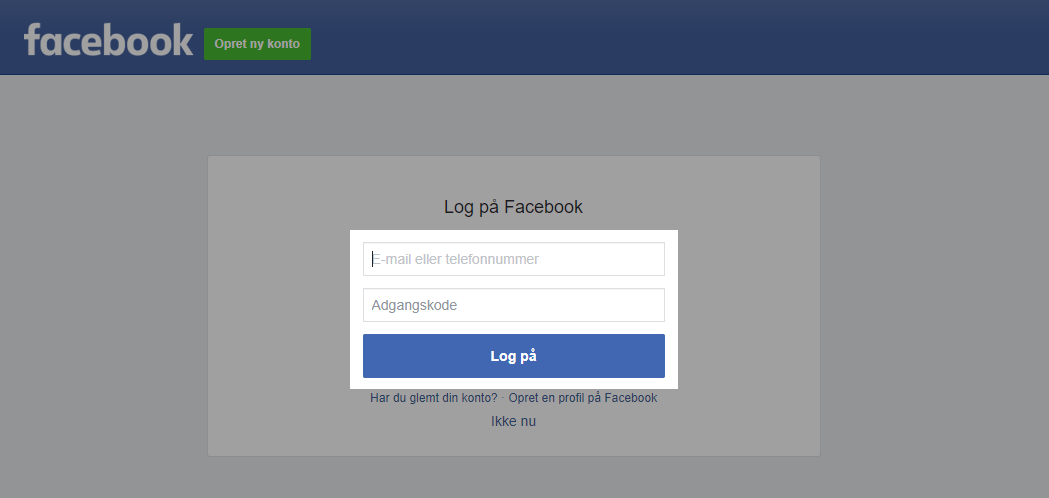
You will be redirected to Facebook and asked to log in with your Facebook account. This is why it’s important that you have access to your company’s Facebook page.
When you’ve logged in, you are directed back to Zendesk. Now you need to decide, which features in the Facebook Channel you want to enable. A green tick means that the feature is enabled.
When you are satisfied, click the “Add” button.

Step 4 – All set and done
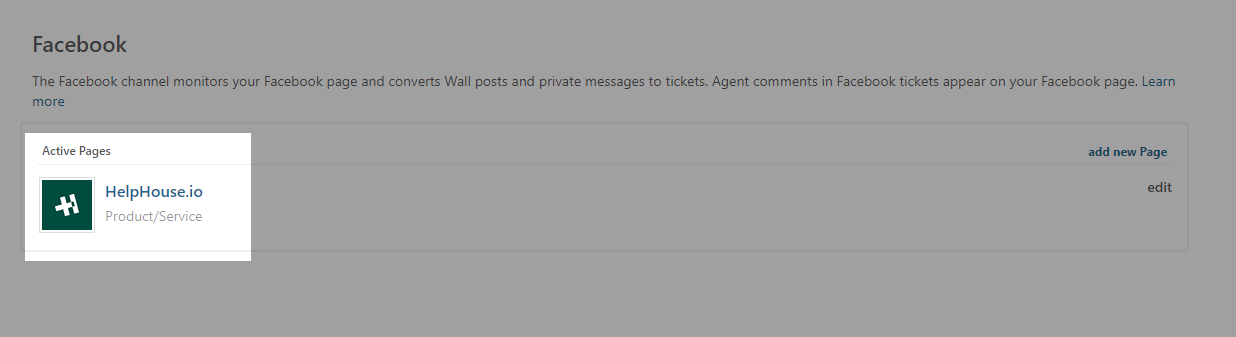
Your company’s Facebook page will now appear in the Facebook Channel view. If your company only have one Facebook page, you are all set and done.
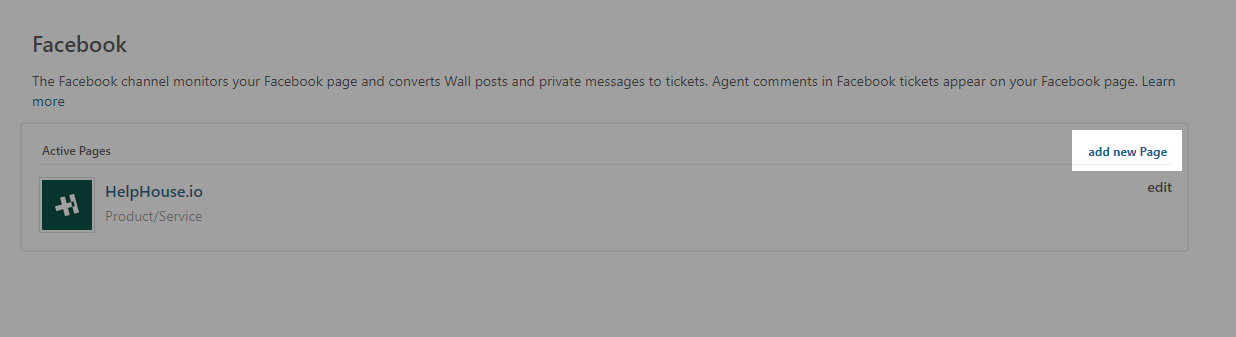
But if your company has additional Facebook pages that you would like to integrate into Zendesk, click the “add new Page” and repeat step 3.
That’s it! The Facebook channel is now set up, and your agents can start solving and answering your customers’ inquiries on Facebook without having to leave Zendesk Support.
Instagram Channel for Zendesk Support

We know Facebook probably isn’t the only social media platform you and your support agents have to deal with every day.
We want to make life as easy as possible for your agents as well as your customers, which is why we have developed an Instagram Channel integration for Zendesk Support.
Go check it out. You even get 14 days free of charge, no strings attached.